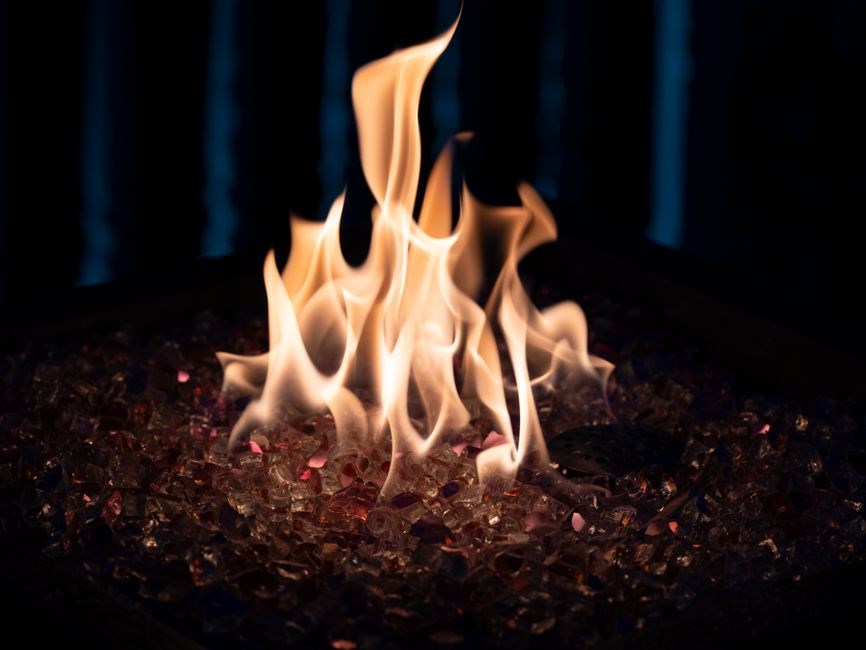
Heat‑N‑Glo pilot lighting begins with a safety check: ensure the gas valve is OFF, then open the lower grille to expose the pilot port. A thermocouple senses flame, preventing gas buildup. Follow the installer guide for exact steps and safety precautions. Check the model‑specific manual for details!!
Thermocouple Role in Safety and Flame Stability
The thermocouple is a small, yet indispensable safety component in every Heat‑N‑Glo fireplace. It is a slender metal rod—typically made of copper or brass—positioned just above the pilot flame. When the pilot is lit, the rod heats up and generates a minute electrical voltage (usually 30–50 millivolts). This voltage is fed to the gas valve, keeping it open so that gas continues to flow. If the flame goes out, the thermocouple cools, the voltage drops to zero, and the valve shuts, stopping gas flow and preventing a potentially hazardous buildup of unburned gas. This automatic shut‑off is the core of the safety system that protects homeowners from gas leaks and explosions. In addition to safety, the thermocouple contributes to flame stability. A properly functioning thermocouple ensures that the gas valve receives a steady electrical signal, allowing the pilot to maintain a consistent flame size and temperature; Any fluctuation in the thermocouple’s voltage can cause the pilot to flicker or extinguish, which is a clear indication of a problem. Proper placement is critical: the thermocouple must be centered in the pilot port, free of soot or debris, and positioned so that it receives direct heat from the flame. Regular inspection—every 6 to 12 months—is recommended. During inspection, remove any soot buildup, check for cracks or corrosion, and verify that the thermocouple is still aligned. If the thermocouple is damaged, replace it with the exact model specified in the Heat‑N‑Glo installer’s guide. Keep it clean.
Safety Precautions Before Lighting
Before attempting to ignite a Heat‑N‑Glo unit, verify the gas valve is OFF, inspect the lower grille for obstructions, and apply a soap‑solution leak test. Ensure the area is well‑ventilated and no flammable items are nearby. Verify no gas odor is present.!!
Confirm Valve Off and Test for Gas Leaks with Soap Solution
Step 1: Locate the main gas valve on your Heat‑N‑Glo fireplace. Turn the knob clockwise until it reaches the OFF position. Verify the valve is fully closed by feeling for resistance and ensuring the indicator light, if present, is off. Step 2: Prepare a soap solution by mixing one tablespoon of liquid dish soap in a small bowl of warm water. Step 3: Apply the solution generously to the valve stem, the pilot port, and any surrounding fittings using a clean cloth or spray bottle. Step 4: Observe the area for bubbles; any continuous bubbling indicates a gas leak. If bubbles appear, do not proceed with lighting. Tighten fittings, re‑apply soap, and re‑check until no bubbles form. Step 5: Once the valve is confirmed OFF and the leak test is clear, you may safely proceed to the next lighting phase. This precautionary measure is essential to prevent accidental gas exposure and ensures compliance with manufacturer safety guidelines.
Additional safety steps: After confirming the valve is OFF and the leak test is clear, wait at least 5 minutes before attempting to ignite. This allows any residual gas to dissipate. Keep a fire extinguisher nearby and ensure the area is free of combustible materials. If you smell gas after the test, immediately shut off the main supply and contact a licensed technician. Finally after lighting monitor the pilot flame for steady, even color and no flickering before returning the valve to the ON position. This thorough approach reduces risk and ensures reliable operation.
Essential Tools and Materials
Gather a sturdy workbench, a 12‑volt battery piezo igniter, a 1‑inch diameter soap‑solution spray bottle, a set of gloves, and to safety goggles, a wrench for the valve, and a brush for cleaning the pilot port. Follow the installer’s safety checklist before use.
Protective Gloves, Goggles, and Piezo Ignition Button
Protective gloves, goggles, and a piezo ignition button are essential components for safely lighting a Heat‑N‑Glo pilot. Gloves should be made of heat‑resistant material, at least 2 mm thick, and provide a firm grip on the valve knob and the ignition button. Goggles must have a clear, anti‑fog coating and a snug seal around the face to prevent gas ingress and protect the eyes from sparks or embers. The piezo button is a small, spring‑loaded device that delivers a high‑voltage spark to ignite the pilot. Before use, test the button by pressing it a few times; a successful spark produces a brief, bright flash. If the button fails to spark, replace the battery or check the internal contacts for corrosion. When operating the ignition button, hold the valve in the pilot position and press the button slowly. The sequence is: valve OFF → open lower grille → set valve to pilot → press piezo button → observe flame. If the flame does not appear within 10 seconds, release the button, wait a minute, and try again. Proper use of gloves, goggles, and the piezo button not only guarantees a safe lighting procedure but also extends the lifespan of the ignition system. Follow the Heat‑N‑Glo installer guide for model‑specific recommendations on button placement and maintenance. By adhering to these precautions, you minimize the risk of gas leaks, accidental burns, and equipment failure, ensuring a reliable and safe pilot light for your heating system. Always keep the ignition area clear of combustible materials now!!!!
Step‑by‑Step Lighting Procedure
Open the lower grille, set the gas valve to OFF, then to the pilot position. Press the piezo button slowly while holding the valve. A spark ignites the pilot; if it fails, wait 5 min, retry. Once flame steadies, turn the valve to ON and let it for 30 seconds
Open Lower Grille, Position Valve to Pilot, and Activate Igniter
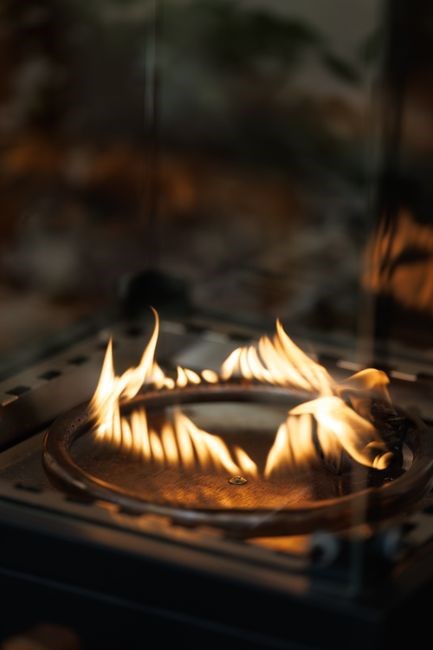
Begin by carefully lifting the lower grille to expose the pilot assembly. Once the grille is open, locate the gas control valve knob. Turn the knob clockwise to the OFF position, then continue turning until the pilot indicator appears. This ensures the valve is in the pilot setting. With the valve in place, press the piezo ignition button gently while simultaneously holding the valve knob. The piezo button should fire a spark that ignites the pilot flame. If the flame does not appear immediately, release the button, wait a few seconds, and repeat the process. Once a steady pilot flame is established, slowly turn the valve knob to the ON position to allow gas flow. Allow the pilot to burn for at least 30 seconds before proceeding. This procedure follows the manufacturer’s safety guidelines and ensures reliable ignition of the Heat‑N‑Glo fireplace. After the pilot flame is lit, observe the flame’s color and steadiness for a full minute to confirm proper combustion. The flame should be bright orange with a small blue core; any yellowish hue may indicate incomplete combustion. During this observation, check for any residual gas odor around the fireplace, which could signal a leak. If the flame flickers or the odor persists, shut off the gas valve immediately, ventilate the area, and consult the installer guide before attempting to relight. Maintaining these checks ensures safe operation and prolongs the unit’s lifespan. Keep the area clear of flammables now
Common Pilot Lighting Problems
Common issues include no ignition, flicker, or rapid burn. Causes often stem from blocked pilot ports, low gas pressure, or a faulty thermocouple. Check for leaks, ensure the valve is correctly set, and verify the ember tray is clean. Ensure proper venting.
Failure to Ignite, Flickering, or Rapid Burn – Likely Causes
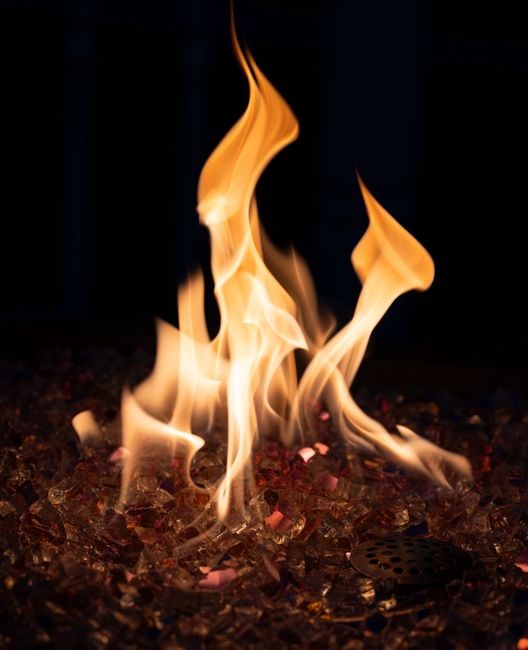
When a Heat‑N‑Glo pilot fails to ignite, flickers, or burns too quickly, the root causes usually lie in a few common areas. A blocked pilot port or an obstructed vent can restrict airflow, causing the flame to sputter or extinguish. Low gas pressure—often from a faulty regulator or a closed main line—prevents the pilot from sustaining a steady flame. A defective or mis‑aligned thermocouple fails to detect the flame, allowing gas to accumulate and then burn too rapidly once ignited. Improper ember placement or a dirty ember tray can also destabilize the pilot. To troubleshoot, first confirm the gas supply is on and the main valve is fully open. Next, check the pilot port for debris and clean with a soft brush. Verify the thermocouple is positioned within 1/4 inch of the flame and is free of corrosion. Ensure the piezo button is functioning and the valve knob is correctly set to pilot. Finally, inspect the vent path for obstructions and test for leaks with a soap solution. A cracked pilot port seal can also cause gas to leak around the flame, leading to a weak or erratic light. Also, ensure the gas valve is fully open for proper flow. Additionally, keep the surrounding area clear of flammable materials to prevent accidental ignition and safety. Finally, verify that the flame shape is a steady blue cone; an orange or too bright flame indicates a problem with gas flow or venting. Addressing each of these factors will resolve most ignition and flame stability problems!!!??
Routine Maintenance and Cleaning
Routine maintenance ensures safe operation. Remove ember tray, wipe pilot port with a soft brush, check thermocouple alignment, and inspect vent for obstructions. Replace worn seals verify gas valve integrity, and keep surrounding area clear of flammable debris. Follow installer guide.for safety.
Remove Ember Tray, Clean Pilot Port, and Verify Ember Position
Begin by turning the main gas valve to the OFF position and allowing the unit to cool. Carefully lift the lower grille to expose the ember tray. Using a soft brush or vacuum, remove any ash or debris that has accumulated. Inspect the tray for cracks or corrosion; replace if damaged. Next, locate the pilot port and gently wipe it with a lint‑free cloth dampened with a mild, non‑abrasive cleaner. Avoid using solvents that could damage internal components. After cleaning, re‑insert the ember tray, ensuring it sits flush against the housing. Check the ember’s position: it should be centered within the pilot port and not tilted. A misaligned ember can cause uneven flame or failure to ignite; Finally, close the lower grille, verify that all connections are secure, and test the pilot light according to the manufacturer’s procedure. Proper maintenance reduces the risk of flame instability and extends the life of the unit. Regular inspection of the ember tray and pilot port is essential for safe operation, and any signs of wear should prompt immediate replacement. Additionally, always keep the surrounding area free of combustible materials and ensure that the venting system remains unobstructed to maintain optimal airflow and combustion efficiency. Remember to consult the Heat‑N‑Glo installer guide for model‑specific details and safety recommendations. If any component shows signs of wear or damage, replace it immediately to avoid unsafe conditions; Periodic cleaning of the ember tray and pilot port not only ensures efficient combustion but also prolongs the life of the fireplace. Stay safe.

Manufacturer Guidance and Support
Consult the Heat‑N‑Glo Installers Guide for model‑specific instructions, safety warnings, and troubleshooting steps. Contact the manufacturer’s customer support line or authorized service center for assistance. Follow all guidelines to ensure safe, reliable operation. See the PDF for diagrams. now!
Refer to Heat‑N‑Glo Installers Guide for Model‑Specific Instructions
The Heat‑N‑Glo Installers Guide is the definitive source for model‑specific pilot lighting procedures,safety protocols, and maintenance schedules. It contains step‑by‑step diagrams,valve orientation charts,and thermocouple placement instructions tailored to each series.To access the guide, visit the official Heat‑N‑Glo website,navigate to the support section,and download the PDFthat matches your unit’s model number. If the model is older, the guide may be archived under the legacy manuals archive.The guide also lists the required tools, recommended battery types for backup systems, and troubleshooting tables for common ignition failures. For complex issues, the guide directs you to the manufacturer’s technical support hotline and provides a list of authorized service centers. Always keep a hard copy in the service cabinet for quick reference during maintenance or emergency lighting. The PDF includes a searchable index,so you can jump directly to the pilot lighting chapter. When following the instructions, ensure you read the safety warnings first,then proceed through the valve‑positioning steps, ignition sequence, and final verification checks. The guide’s illustrations help confirm that the pilot flame is steady and that the thermocouple is correctly seated. By adhering to the model‑specific details, you reduce the risk of gas leaks and ensure the fireplace operates efficiently and safely. For updates or errata, check the manufacturer’s website regularly,as new firmware or safety notices may be issued that affect pilot lighting procedures.The manual also advises on proper venting ensuring the exhaust system is clear and the chimney draft meets safety standards of combustion
No Responses