Accu-Chek Guide: A Comprehensive User Guide
Accu-Chek Guide simplifies life‚ offering easy-fill test strips‚ advanced accuracy‚ and seamless mySugr connectivity for effortless blood glucose monitoring and management.
Accu-Chek Guide represents a significant advancement in self-monitoring blood glucose systems‚ designed with simplicity and accuracy as core principles. This system empowers individuals to proactively manage their diabetes with confidence. The Accu-Chek Guide isn’t just a meter; it’s a connected solution‚ seamlessly integrating with the mySugr app via Bluetooth to provide a comprehensive view of your glucose data.
This guide will walk you through every aspect of using the Accu-Chek Guide‚ from initial setup and performing tests to understanding your results and troubleshooting common issues. Whether you’re newly diagnosed or experienced with blood glucose monitoring‚ this resource will help you maximize the benefits of this innovative system. It’s designed for quick‚ routine check-ins‚ ensuring convenient and reliable results‚ aligning with laboratory measurements with differences of only 0.1.
What is the Accu-Chek Guide?
The Accu-Chek Guide is a blood glucose monitoring system engineered for ease of use and reliable results. It’s a compact‚ user-friendly meter designed to fit seamlessly into your daily life‚ simplifying diabetes management. A key feature is its easy-fill test strips‚ minimizing handling and maximizing convenience. The system also boasts a strip ejector‚ enhancing hygiene and reducing the risk of contamination.
Beyond the meter itself‚ the Accu-Chek Guide system includes a lancing device for obtaining blood samples and‚ crucially‚ connectivity to the mySugr app. This app allows for effortless tracking of your blood glucose levels‚ providing valuable insights into your trends and patterns. It’s a complete solution‚ offering both accurate measurements and a digital platform for informed decision-making‚ available for purchase on OZON;
Key Features and Benefits
The Accu-Chek Guide offers several key advantages for effective diabetes management. Its spill-resistant vial protects test strips from damage‚ ensuring accurate readings and reducing waste. A strip port light clearly indicates proper strip insertion‚ minimizing errors. The large testing area simplifies blood application‚ particularly beneficial for individuals with limited dexterity.
Connectivity with the mySugr app via Bluetooth is a significant benefit‚ enabling automatic logbook creation and data sharing with healthcare professionals. Users appreciate the meter’s accuracy‚ with some reporting measurements comparable to laboratory results. The system’s design prioritizes simplicity‚ making routine check-ins quick and straightforward. Purchasing test strips on platforms like OZON provides convenient access to essential supplies‚ supporting consistent monitoring.

Setting Up Your Accu-Chek Guide
Accu-Chek Guide setup involves unboxing components‚ inserting batteries‚ and setting the date and time for personalized‚ accurate glucose monitoring and data tracking.
Unboxing and Component Overview
Upon opening your Accu-Chek Guide kit‚ carefully inspect the contents. You should find the Accu-Chek Guide meter itself‚ a lancing device for obtaining blood samples‚ a set of lancets (small needles)‚ and a vial of Accu-Chek Guide test strips. A quick reference guide and the full instruction manual are also included‚ providing detailed information on operation and troubleshooting.
The meter features a clear display screen‚ buttons for navigation‚ and a port for inserting the test strips. The lancing device allows you to adjust the penetration depth for comfortable blood sampling. Familiarize yourself with each component before proceeding. Ensure all parts are present and undamaged. The test strip vial is designed to be spill-resistant‚ protecting the strips from humidity and ensuring accurate results. Refer to the included materials for a visual diagram of all components.
Inserting the Battery
The Accu-Chek Guide meter requires a battery to operate. Typically‚ it uses a standard 3V CR2032 button cell battery. To insert or replace the battery‚ locate the battery compartment on the back of the meter. You may need a small screwdriver to open the compartment cover. Carefully remove the old battery‚ noting its polarity (+ and -).
Insert the new battery‚ ensuring the positive (+) side faces up‚ as indicated by the diagram inside the compartment. Replace the battery compartment cover securely. The meter should power on automatically once the battery is correctly installed. If it doesn’t‚ double-check the battery’s polarity and ensure it’s firmly in place. A low battery indicator will appear on the screen when the battery needs replacing.
Setting the Date and Time
Accurate date and time settings are crucial for proper data tracking with your Accu-Chek Guide meter. Upon initial setup‚ or after a battery change‚ the meter will prompt you to set the date and time. Use the buttons on the meter to navigate through the year‚ month‚ and day‚ adjusting each value until it displays correctly.
Similarly‚ set the hour and minute. The meter typically uses a 24-hour clock format. Confirm each setting by pressing the designated button; Accurate time-stamping ensures your blood glucose readings are correctly associated with the time of measurement within the mySugr app‚ providing a comprehensive overview of your glucose patterns. Refer to the user manual for specific button functions and detailed instructions.
Performing a Blood Glucose Test
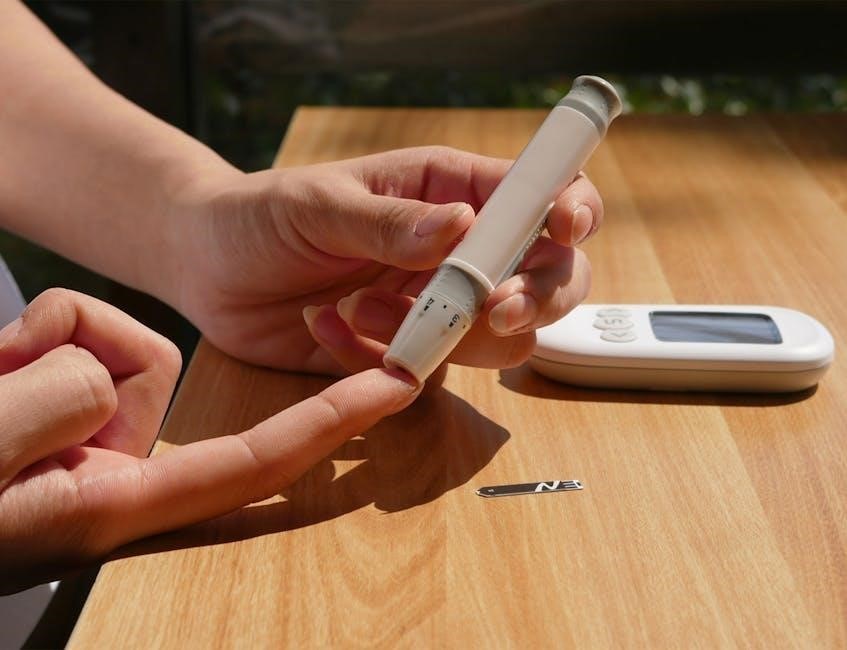
Accu-Chek Guide enables quick routine check-ins; prepare the lancing device‚ obtain a blood sample‚ apply it to the strip‚ and read the result.
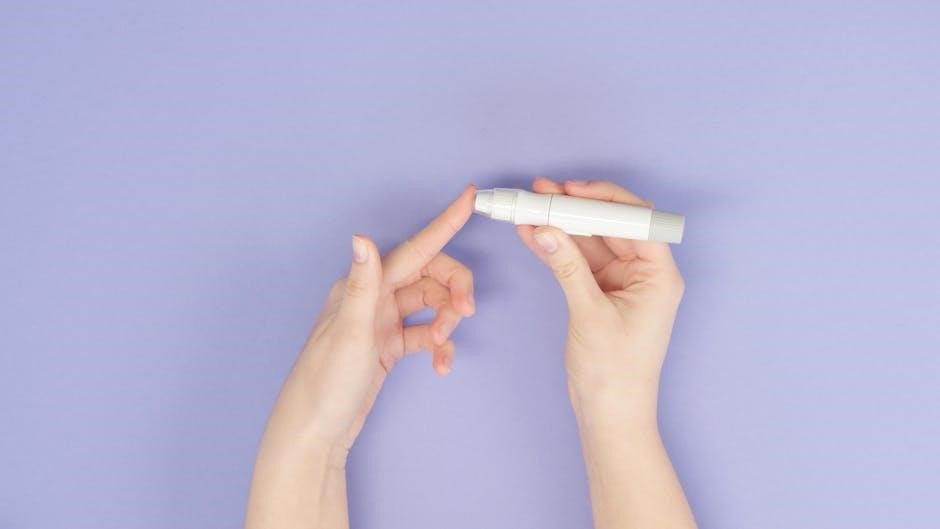
Preparing the Lancing Device
Accu-Chek Guide’s lancing device requires careful preparation for a comfortable and accurate blood sample. First‚ twist off the protective cap of the lancing device. Then‚ insert a new‚ sterile lancet firmly into the lancing device‚ ensuring it clicks into place. Twist off the protective cover of the lancet – never reuse lancets!
Adjust the depth setting on the lancing device according to your skin type and desired blood flow. Start with a shallower setting and increase if needed. Remember‚ different areas of the body require different depth settings; the side of the fingertip generally needs a shallower setting than the center. Finally‚ cock the lancing device‚ preparing it to puncture your skin. Always have a test strip ready before lancing to minimize discomfort and waste.
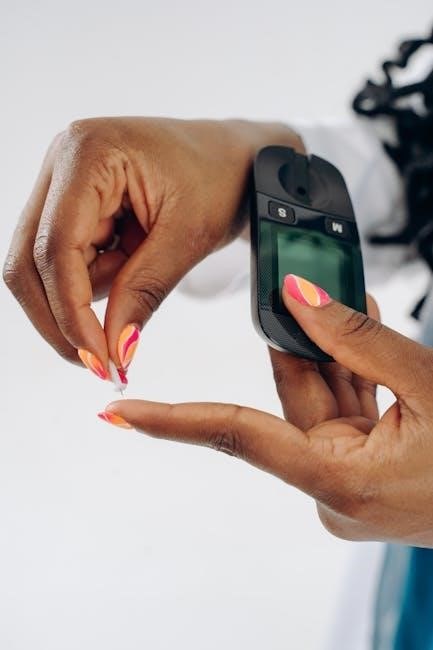
Obtaining a Blood Sample
After preparing the lancing device‚ gently press it firmly against the side of your fingertip. Press the release button on the lancing device to obtain a small drop of blood. Avoid squeezing the finger excessively‚ as this can affect the accuracy of the result. If the blood drop is too small‚ gently massage the finger towards the puncture site to encourage blood flow.
Ensure you have a sufficient drop of blood – approximately a small bead – to completely fill the sample area on the Accu-Chek Guide test strip. Wipe away the first drop of blood with a clean tissue‚ as it may contain tissue fluid that could interfere with the reading. A proper sample is crucial for reliable glucose monitoring.
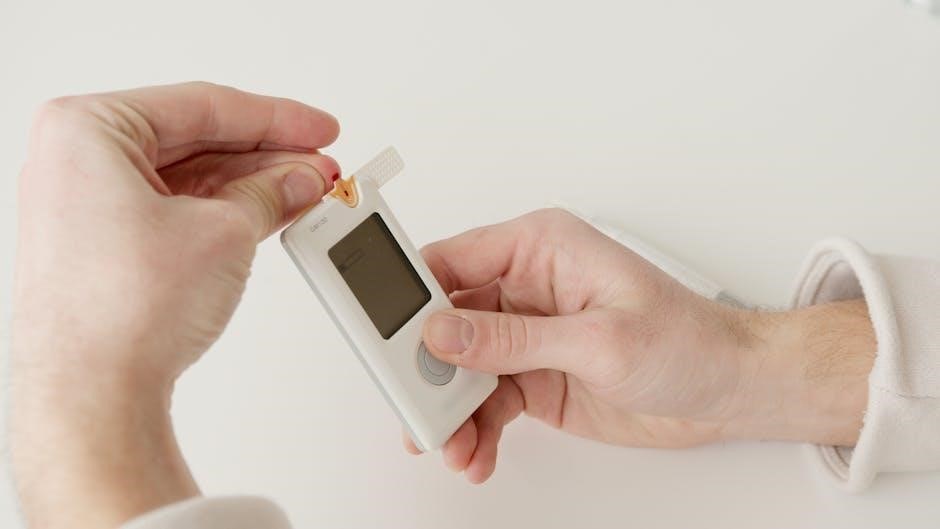
Applying Blood to the Test Strip
Hold the Accu-Chek Guide test strip with the designated sample area facing upwards. Gently bring the drop of blood to the sample area – the strip will automatically draw the blood in‚ so avoid smearing or touching the blood to the strip. Ensure the sample area is completely covered with blood; insufficient blood will result in an error message.
Do not apply blood to any other part of the test strip. The meter will begin to count down‚ indicating it is analyzing the sample. Avoid touching the test strip after applying the blood‚ and do not attempt to add more blood if the sample area doesn’t fill immediately.
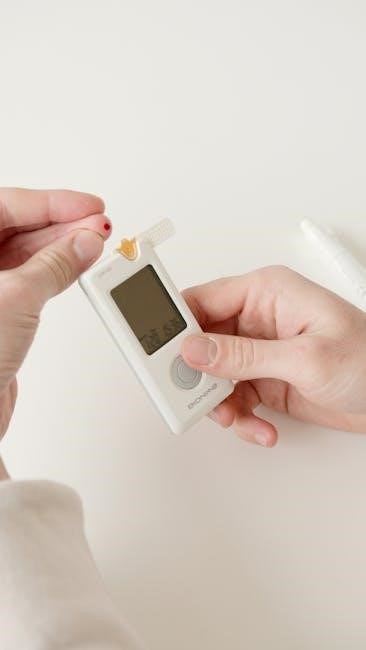
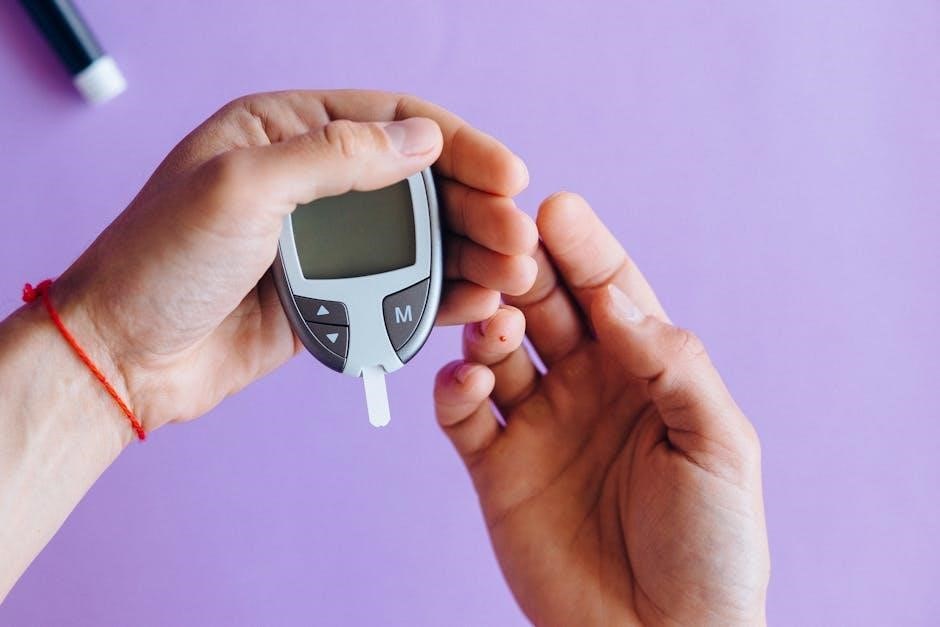
Reading Your Blood Glucose Result

After the countdown‚ your blood glucose result will be displayed clearly on the Accu-Chek Guide meter’s screen. The reading will be shown in mg/dL or mmol/L‚ depending on your meter’s settings. Note the time and date alongside your result for accurate tracking. The meter may also display indicators‚ such as high or low readings‚ based on your personalized target range.
The mySugr app automatically logs your results via Bluetooth connectivity‚ providing a comprehensive overview of your glucose patterns. Review your results regularly with your healthcare provider to adjust your diabetes management plan as needed. Remember to eject the used test strip safely after obtaining your reading.
Understanding Your Results
Accu-Chek Guide helps interpret high and low readings‚ track data with mySugr‚ and understand target ranges for effective diabetes management and informed healthcare decisions.
Target Blood Glucose Ranges
Understanding your target blood glucose ranges is crucial for effective diabetes management with the Accu-Chek Guide system. These ranges aren’t one-size-fits-all and are typically individualized by your healthcare provider‚ considering factors like age‚ overall health‚ and diabetes type. Generally‚ before meals‚ a target range of 80-130 mg/dL is often recommended.
Two hours after starting a meal‚ aiming for less than 180 mg/dL is a common goal. Before bedtime‚ a range of 100-140 mg/dL is frequently suggested. However‚ these are guidelines; always follow your doctor’s specific recommendations. Regularly monitoring with your Accu-Chek Guide and tracking results via mySugr allows you to identify patterns and adjust your lifestyle or medication as needed‚ ensuring optimal glycemic control and minimizing potential complications. Consistent communication with your healthcare team is vital for personalized target range adjustments.
Interpreting High and Low Readings
When using your Accu-Chek Guide‚ consistently high readings (above your target range) may indicate the need to adjust your diet‚ increase physical activity‚ or modify your medication‚ as directed by your healthcare provider. Conversely‚ low readings (below your target range) require immediate attention to prevent hypoglycemia.
Symptoms of low blood sugar include shakiness‚ sweating‚ dizziness‚ and confusion. Follow the “15-15 rule”: consume 15 grams of fast-acting carbohydrates (like glucose tablets or juice)‚ wait 15 minutes‚ and recheck your blood glucose. Repeat if still low. Document both high and low readings in mySugr to identify trends. Always consult your doctor before making significant changes to your diabetes management plan based on these readings; they can provide personalized guidance.
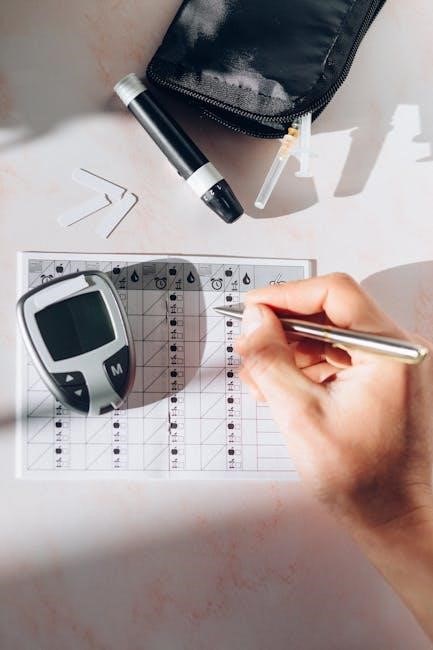
Tracking Your Results with mySugr
The Accu-Chek Guide seamlessly connects with the mySugr app via Bluetooth‚ transforming your meter into a powerful diabetes management tool. After each blood glucose test‚ automatically log your results to mySugr for a comprehensive overview of your glucose patterns.
mySugr allows you to add meal information‚ exercise data‚ and medication details‚ providing valuable context to your readings. Visualize your data with easy-to-understand charts and graphs‚ identify trends‚ and share reports with your healthcare provider. The app also offers personalized insights and reminders to help you stay on track with your diabetes management goals. Consistent tracking with mySugr empowers proactive self-care.
Accu-Chek Guide Test Strip Information
Accu-Chek Guide test strips feature easy-fill technology and a spill-resistant vial‚ ensuring accurate results and convenient‚ hassle-free blood glucose monitoring.
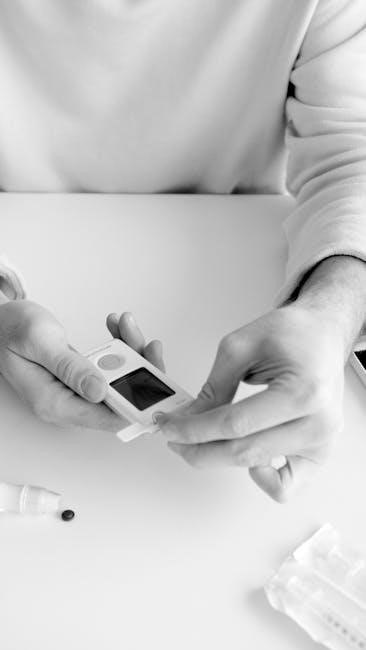
Using Accu-Chek Guide Test Strips
Accu-Chek Guide test strips are designed for simple and accurate use. Gently slide a test strip into the meter‚ either front or back‚ applying slight pressure from the top. You can touch the top surface of the test strip to initiate the meter.
The strip port light illuminates‚ confirming proper insertion and readiness for blood application. These strips are designed for single use only; do not reuse test strips. Ensure the test strip vial is securely closed after removing a strip to maintain strip integrity and prevent moisture exposure. Proper handling ensures reliable blood glucose readings and contributes to effective diabetes management. Always check the expiration date before use.
Storing Test Strips Properly
Proper storage of Accu-Chek Guide test strips is crucial for maintaining their accuracy and reliability. Always keep the test strip vial tightly closed immediately after removing a strip. Exposure to air and moisture can degrade the strip’s chemical reagents‚ leading to inaccurate results.
Store the vial in a cool‚ dry place‚ away from direct sunlight and extreme temperatures. Avoid storing strips in bathrooms or other humid environments. Do not refrigerate or freeze the test strips. Ensure the storage location is easily accessible‚ but out of reach of children and pets. Following these guidelines will help ensure your test strips remain effective until their expiration date.
Understanding Test Strip Expiration Dates
Accu-Chek Guide test strips have an expiration date printed on the vial and individual packaging. Using expired test strips can lead to inaccurate blood glucose readings‚ potentially impacting your diabetes management decisions. Always check the expiration date before using a test strip.
Do not use strips that have passed their expiration date‚ even if they appear undamaged. Discard any expired strips properly. The expiration date guarantees the stability of the chemical reagents on the strip. Once expired‚ these reagents may degrade‚ compromising the accuracy of the test. Regularly check your supply and rotate older strips to the front to ensure timely use before expiration.
Troubleshooting Common Issues
Accu-Chek Guide may display error messages; inaccurate readings can occur‚ and connectivity with mySugr might fail – solutions are readily available online.
Error Messages and Solutions
Accu-Chek Guide meters display error messages to indicate potential problems during testing. Understanding these messages is crucial for accurate results. Common errors include strip errors‚ indicating an issue with the test strip – ensure proper insertion and check the expiration date. Another frequent message relates to insufficient blood sample; apply a larger drop to the test strip’s designated area.
If you encounter a meter error‚ consult the user manual for a comprehensive list of codes and their corresponding solutions. Restarting the meter can often resolve temporary glitches. Connectivity errors with the mySugr app may require re-pairing the device via Bluetooth. If problems persist‚ contact Accu-Chek customer support for assistance‚ providing the specific error code for efficient troubleshooting.
Inaccurate Readings – Possible Causes
Accu-Chek Guide readings can be inaccurate due to several factors. Improper testing technique is a common cause – ensure adequate blood sample size and correct strip insertion. Expired or damaged test strips yield unreliable results; always check the expiration date and store strips properly. Environmental factors‚ like extreme temperatures or humidity‚ can also affect accuracy.
Individual variations‚ such as dehydration or recent exercise‚ can influence blood glucose levels. Ensure hands are clean and dry before testing to avoid contamination. If discrepancies persist between meter readings and how you feel‚ or with lab results (within 0.1 as reported by users)‚ consult your healthcare provider. Regularly check the meter’s control solution to verify its functionality.
Connectivity Problems with mySugr
Accu-Chek Guide seamlessly connects to the mySugr app via Bluetooth‚ but connectivity issues can occur. First‚ ensure Bluetooth is enabled on your smartphone and that the meter is in pairing mode. Verify the mySugr app is updated to the latest version. Sometimes‚ simply restarting both your smartphone and the meter resolves the problem.
Check for interference from other Bluetooth devices nearby; Ensure the meter is within range of your smartphone during synchronization. If issues persist‚ try “forgetting” the Accu-Chek Guide device in your phone’s Bluetooth settings and re-pairing it. Consult the mySugr help section or Accu-Chek support for further troubleshooting steps and specific guidance.
Maintaining Your Accu-Chek Guide
Regularly clean the device and store it properly; dispose of used test strips and lancets safely to ensure accurate readings and longevity.
Cleaning the Device
Maintaining cleanliness is crucial for accurate results with your Accu-Chek Guide meter. Regularly wipe down the exterior of the meter with a slightly damp cloth. Avoid using harsh chemicals or abrasive cleaners‚ as these can damage the device. Focus on cleaning the strip port‚ as residual blood or fluids can interfere with testing.
Ensure the cloth is only slightly moistened – excessive water can cause internal damage. After wiping‚ dry the meter thoroughly with a clean‚ soft cloth. Do not immerse the meter in water or any other liquid. Pay particular attention to the area where the test strip is inserted‚ ensuring it is free from any debris. Consistent cleaning contributes to the reliable performance and longevity of your Accu-Chek Guide system.
Proper Storage of the Meter
Correct storage significantly extends the life and ensures the accuracy of your Accu-Chek Guide meter. When not in use‚ store the meter in a clean‚ dry place‚ away from extreme temperatures and direct sunlight. Avoid storing it in humid environments like bathrooms‚ as moisture can damage the internal components.
A temperature range of 10°C to 30°C (50°F to 86°F) is ideal. Protect the meter from dust and physical shock by keeping it in its original case or a protective pouch. Do not store the meter with test strips‚ as this can affect strip integrity. Proper storage‚ alongside regular cleaning‚ guarantees reliable performance and accurate readings from your Accu-Chek Guide system for years to come.
Disposing of Used Test Strips and Lancets
Safe disposal of used Accu-Chek Guide test strips and lancets is crucial to prevent accidental needle sticks and maintain hygiene. Treat all used lancets as potentially infectious waste. Always use an FDA-cleared sharps container for disposing of lancets – never throw them in the regular trash.
Used test strips‚ while not as hazardous‚ should also be disposed of responsibly. Check your local regulations for proper medical waste disposal guidelines. Some areas allow disposal in a sealed‚ puncture-resistant container labeled clearly as “medical waste.” Never flush test strips down the toilet. Prioritize safety and environmental responsibility when discarding these components of your Accu-Chek Guide system.
No Responses